5 Common Makeup Sponge Mistakes and How to Fix Them for Flawless Application
By Morpheusmart | Published: 2026-05-23
Category: How-to Guides
Discover the top 5 makeup sponge mistakes that ruin your look and learn expert fixes. From dampening techniques to cleaning tips, achieve airbrushed skin every time.
Makeup sponges are a game-changer for achieving a seamless, airbrushed finish—but only when used correctly. Unfortunately, many beauty lovers unknowingly make mistakes that lead to streaky coverage, wasted product, and even breakouts. Whether you're a beginner or a seasoned pro, avoiding these common pitfalls can transform your makeup routine. In this guide, we'll explore the 5 most frequent makeup sponge mistakes and how to fix them, drawing on expert tips and product recommendations from Morpheusmart to help you level up your application.
Mistake #1: Using a Dry Sponge
One of the most widespread errors is applying foundation or concealer with a dry sponge. A dry sponge acts like a paper towel—it soaks up your liquid products, leaving little on your skin and creating a cakey, uneven finish. This not only wastes your makeup but also makes blending much harder.
How to Fix It: Always Dampen First
Before you even dip into your foundation, run your sponge under clean water until it expands fully, then squeeze out excess moisture. The sponge should be damp to the touch, not dripping. This creates a barrier that prevents product absorption, allowing the sponge to glide smoothly over your skin. For a truly flawless base, pair your damp sponge with a high-quality tool like the Buttery Blends M108 Slanted Foundation Brush for precise application in hard-to-reach areas—though sponges shine for overall blending, a brush can help you control coverage where needed.
Mistake #2: Applying Product Directly to the Sponge
Many people dot foundation or concealer directly onto their sponge and then bounce it onto their face. While this seems efficient, it often results in uneven distribution and over-absorption, especially if the sponge isn't perfectly damp. You end up with more product in the sponge than on your skin.
How to Fix It: Apply to Skin First, Then Blend
Instead, dispense your foundation or concealer onto the back of your hand or a palette, then dot it onto your face in small sections. Use your damp sponge to bounce and blend outward. This technique gives you more control and ensures even coverage. For a cream-based product like the Sudden Heat Creamy Bronzer Stick, apply a few swipes directly to your cheeks, then blend with a damp sponge for a natural, sun-kissed glow without streaks.
Mistake #3: Neglecting to Clean Your Sponge Regularly
Makeup sponges are breeding grounds for bacteria if not cleaned frequently. Using a dirty sponge can cause breakouts, skin irritation, and even infections. Plus, built-up product residue hardens the sponge, reducing its effectiveness and making it less bouncy.
How to Fix It: Wash Weekly and Replace Monthly
Clean your sponge at least once a week using a gentle cleanser or a dedicated brush cleaner. Rinse until the water runs clear, then let it air dry completely. For optimal hygiene, replace your sponge every 3–4 months. A clean sponge not only protects your skin but also performs better—think of it as an investment in your makeup toolkit. To extend the life of your tools, rotate between a few sponges and brushes, like the M161 Large Rounded Powder Brush, which is perfect for setting your makeup with powder after sponge application.
Mistake #4: Using the Wrong Technique (Dragging Instead of Bouncing)
Another common blunder is dragging the sponge across the skin like a paint roller. This motion pushes product around, creates streaks, and can disturb the layers underneath. It also reduces the sponge's ability to blend seamlessly.
How to Fix It: Bounce, Don't Drag
The correct technique is gentle, repetitive bouncing (also called stippling). This motion presses the product into the skin, creating a natural, airbrushed finish. For targeted areas like the under-eye or around the nose, use the pointed tip of the sponge. When working with a product like the Morphe X Ariel A58 Signature Cream Contour Brush, you can combine bouncing with sweeping motions for contour—but stick to bouncing when using a sponge for foundation or concealer. Practice makes perfect; start with lighter pressure and increase as needed.
Mistake #5: Using the Wrong Sponge Shape or Density
Not all sponges are created equal. Using a sponge that's too dense, too large, or poorly shaped for your task can lead to frustration. A classic teardrop sponge is versatile, but you might need different shapes for different steps—like a flat edge for precision or a rounded side for large areas.
How to Fix It: Choose the Right Sponge for the Job
For overall foundation application, a medium-density teardrop sponge works best. For cream contouring or highlighting, look for a sponge with a flat edge or a smaller blender. If you prefer brush-based blending for certain steps, consider investing in a multi-purpose tool like the Buttery Blends M108 Slanted Foundation Brush, which can handle liquid and cream formulas with ease. The key is to have a mix of tools in your arsenal—sponges for seamless blending, brushes for precision—so you can adapt to any makeup look.
Bonus Tips for Sponge Perfection
Beyond fixing these mistakes, here are a few extra tricks to elevate your sponge game:
- Use a setting spray: Lightly mist your damp sponge with setting spray before bouncing for a dewy, long-lasting finish.
- Layer thin coats: Build coverage gradually rather than applying a thick layer all at once. This prevents caking and looks more natural.
- Store properly: Keep your sponge in a ventilated container or egg holder to prevent mold and bacteria growth.
- Experiment with shapes: Try different sponge shapes (hourglass, teardrop, flat) to find what works best for your face structure and preferences.
Remember, the right tools can make all the difference. While sponges are fantastic for blending, occasionally pair them with brushes for specific tasks. For example, after using a damp sponge for foundation, set your makeup with a powder brush like the M161 Large Rounded Powder Brush for a matte finish that lasts all day.
Why Sponges Are Still Worth It (Despite the Mistakes)
Even with these potential pitfalls, makeup sponges remain a favorite for many beauty enthusiasts because they offer a unique, airbrushed finish that brushes can't always replicate. The key is to learn proper technique and maintain your tools. By avoiding the five mistakes above, you'll save product, save time, and achieve a flawless complexion every time.
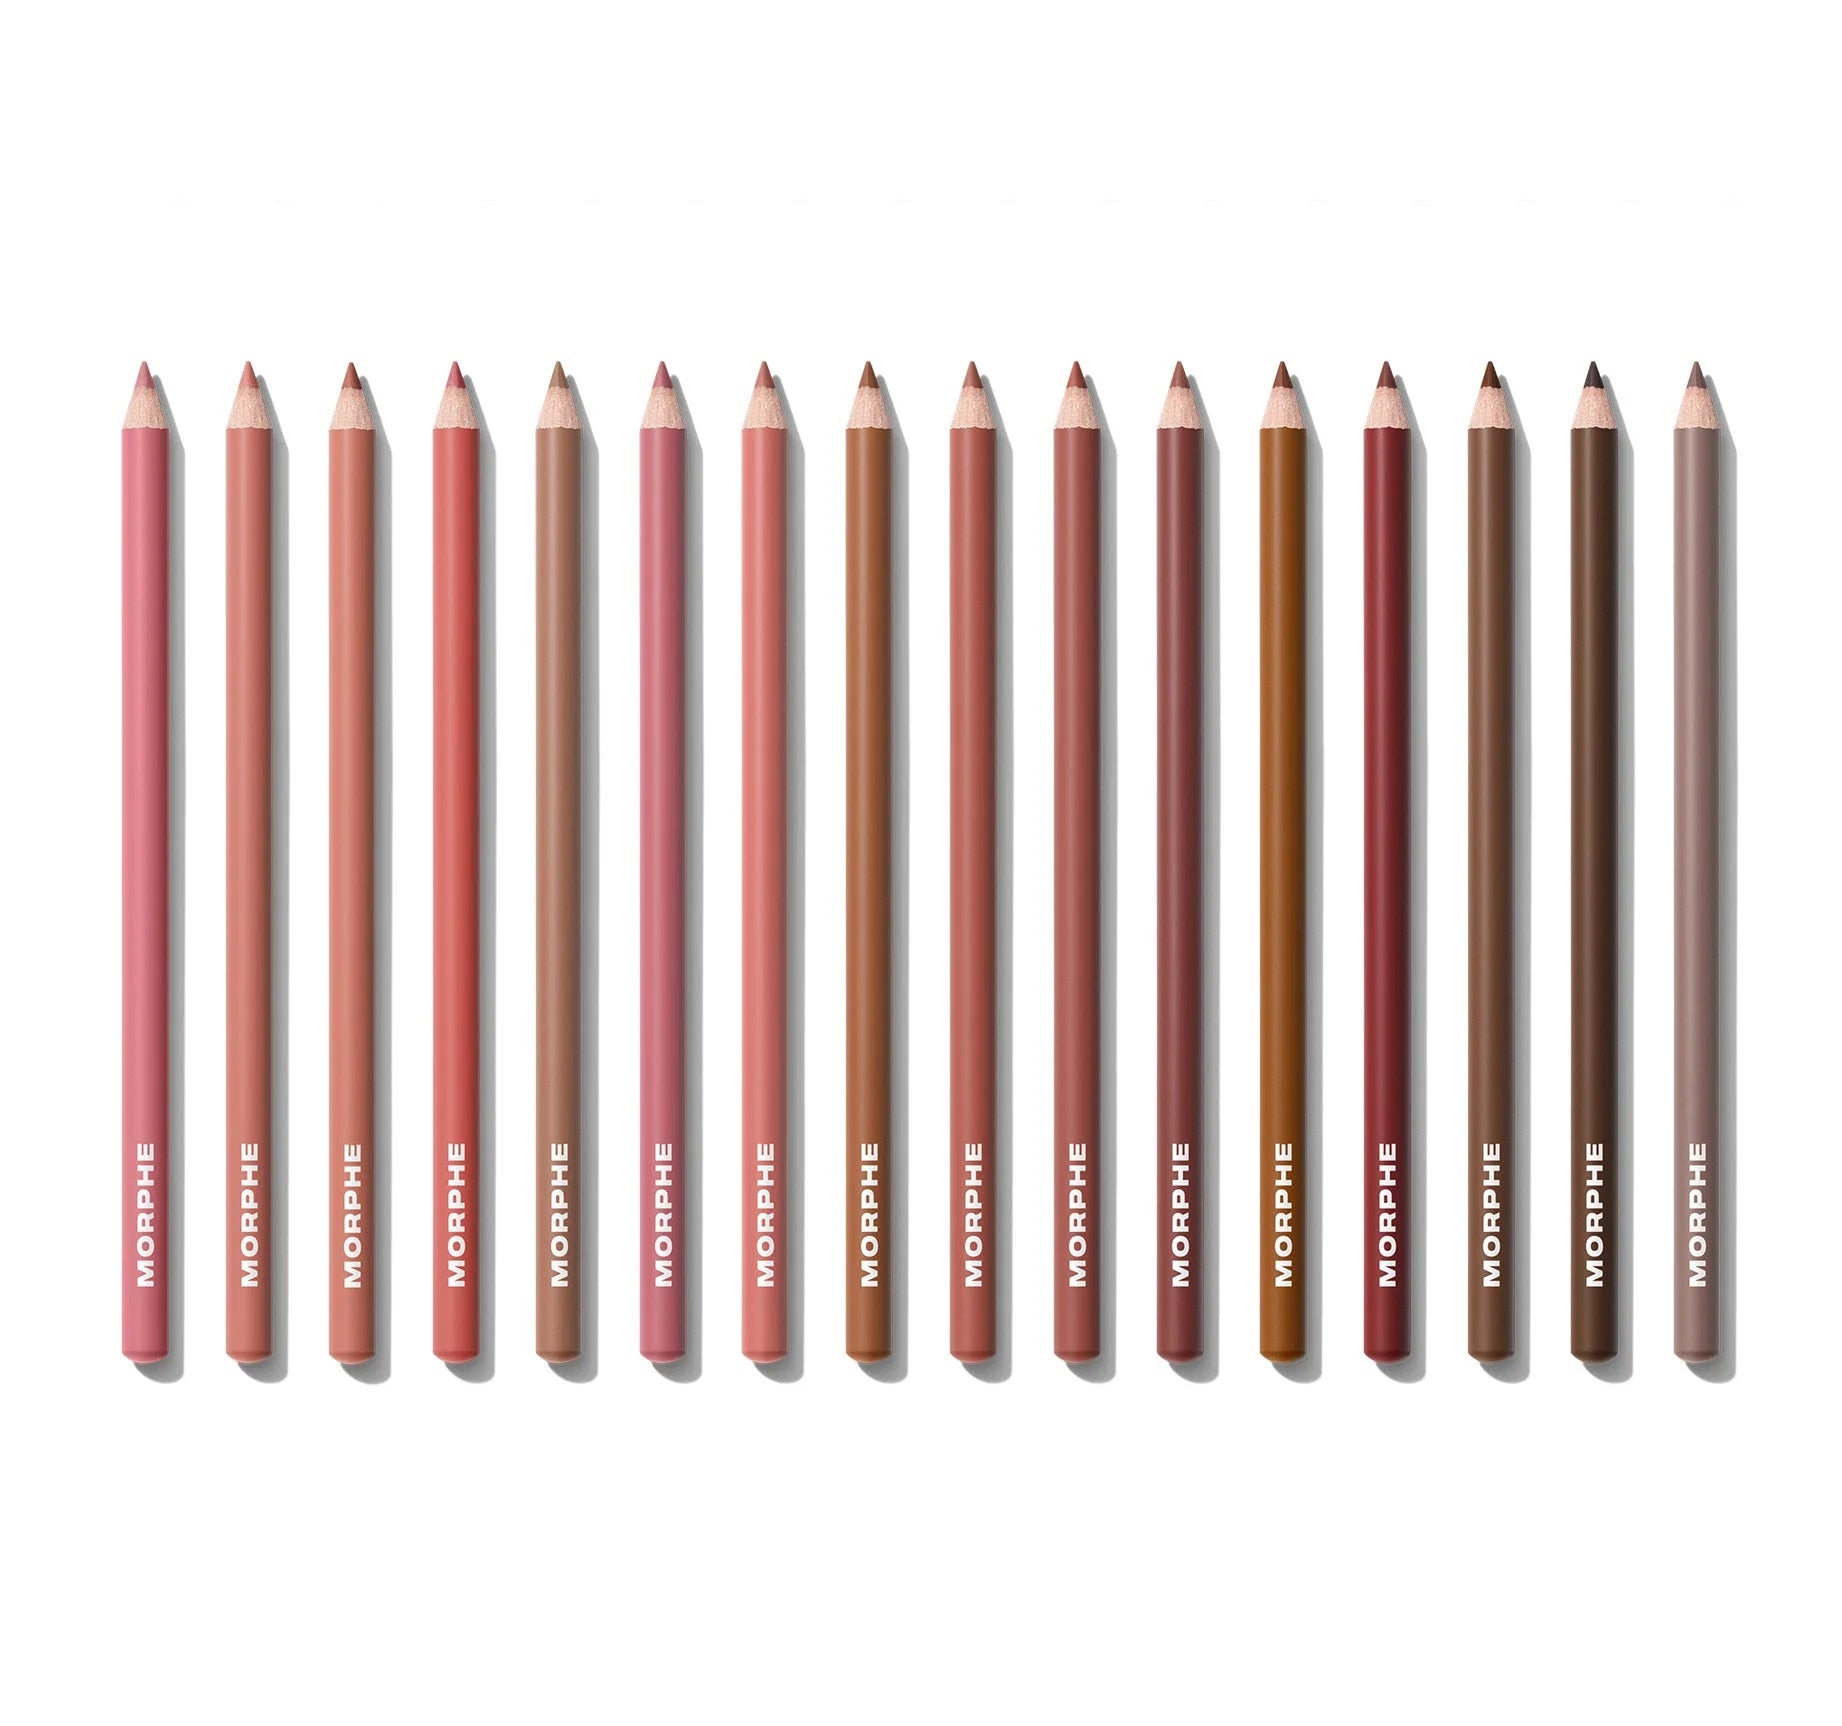
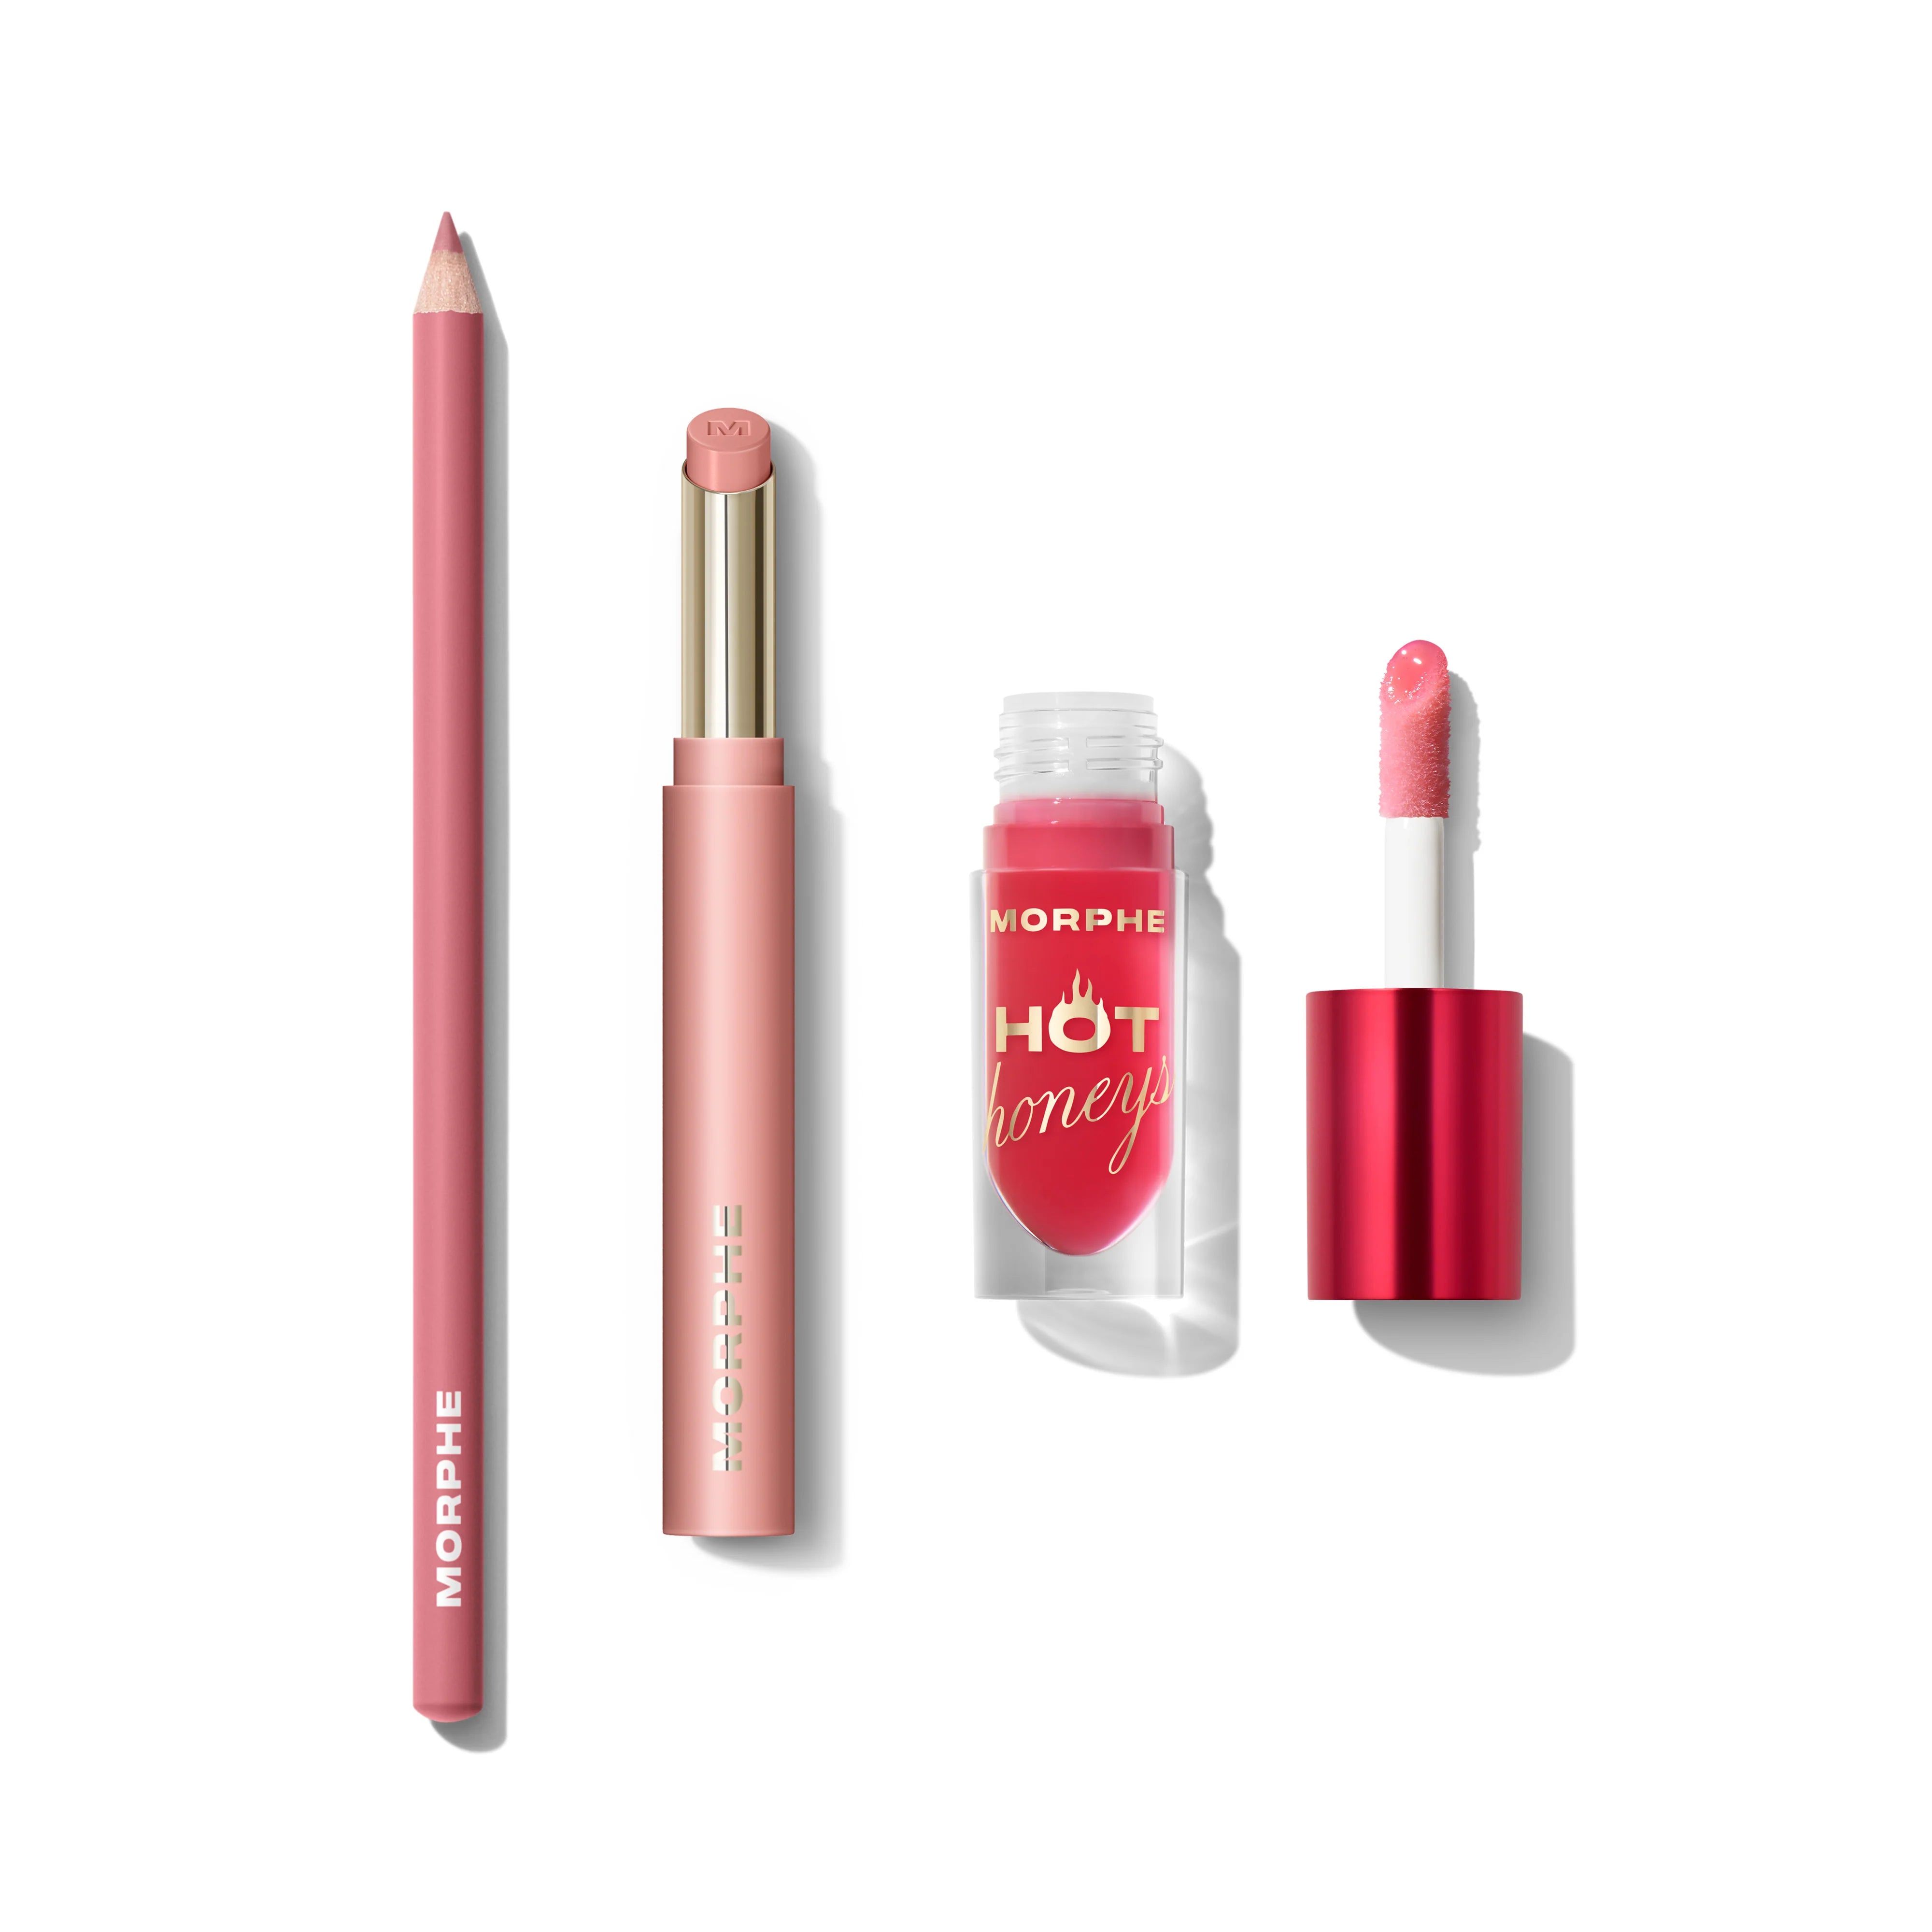
Ready to upgrade your makeup toolkit? Explore the Signature Lip Pencil Bundle to complete your look with perfectly defined lips. Pair it with a damp sponge for a seamless, all-over glam that lasts.