Lip Liner 101: How to Perfectly Define and Shape Your Lips for Any Look
By Morpheusmart | Published: 2026-05-23
Category: How-to Guides
Master lip liner application with this step-by-step tutorial. Learn how to overline lips, choose shades, and shape your pout for any occasion.
Lip liner is the unsung hero of any makeup routine. Whether you want to create the illusion of fuller lips, correct asymmetry, or simply keep your lipstick from bleeding, a well-applied lip liner is the foundation of a flawless pout. In this comprehensive lip liner tutorial, we'll walk you through everything from selecting the right shade to mastering advanced techniques like overlining. By the end, you'll have all the lip shape tips you need to create any look—from natural to dramatic.
Why Lip Liner Matters: More Than Just an Outline
Many people skip lip liner, thinking it's an extra, unnecessary step. But adding lip liner to your routine offers several benefits:
- Defines the lip shape – It creates a clean, crisp edge that enhances your natural lip line.
- Prevents feathering – Lip liner acts as a barrier, stopping lipstick from bleeding into fine lines around the mouth.
- Increases longevity – When you fill in your entire lip with liner, it provides a base that helps color last longer.
- Allows for reshaping – You can subtly overline to make lips appear fuller or correct unevenness.
If you're new to lip liner, start with a shade that matches your natural lip color or a nude that complements your lipstick. As you gain confidence, you can experiment with bolder contrasts.
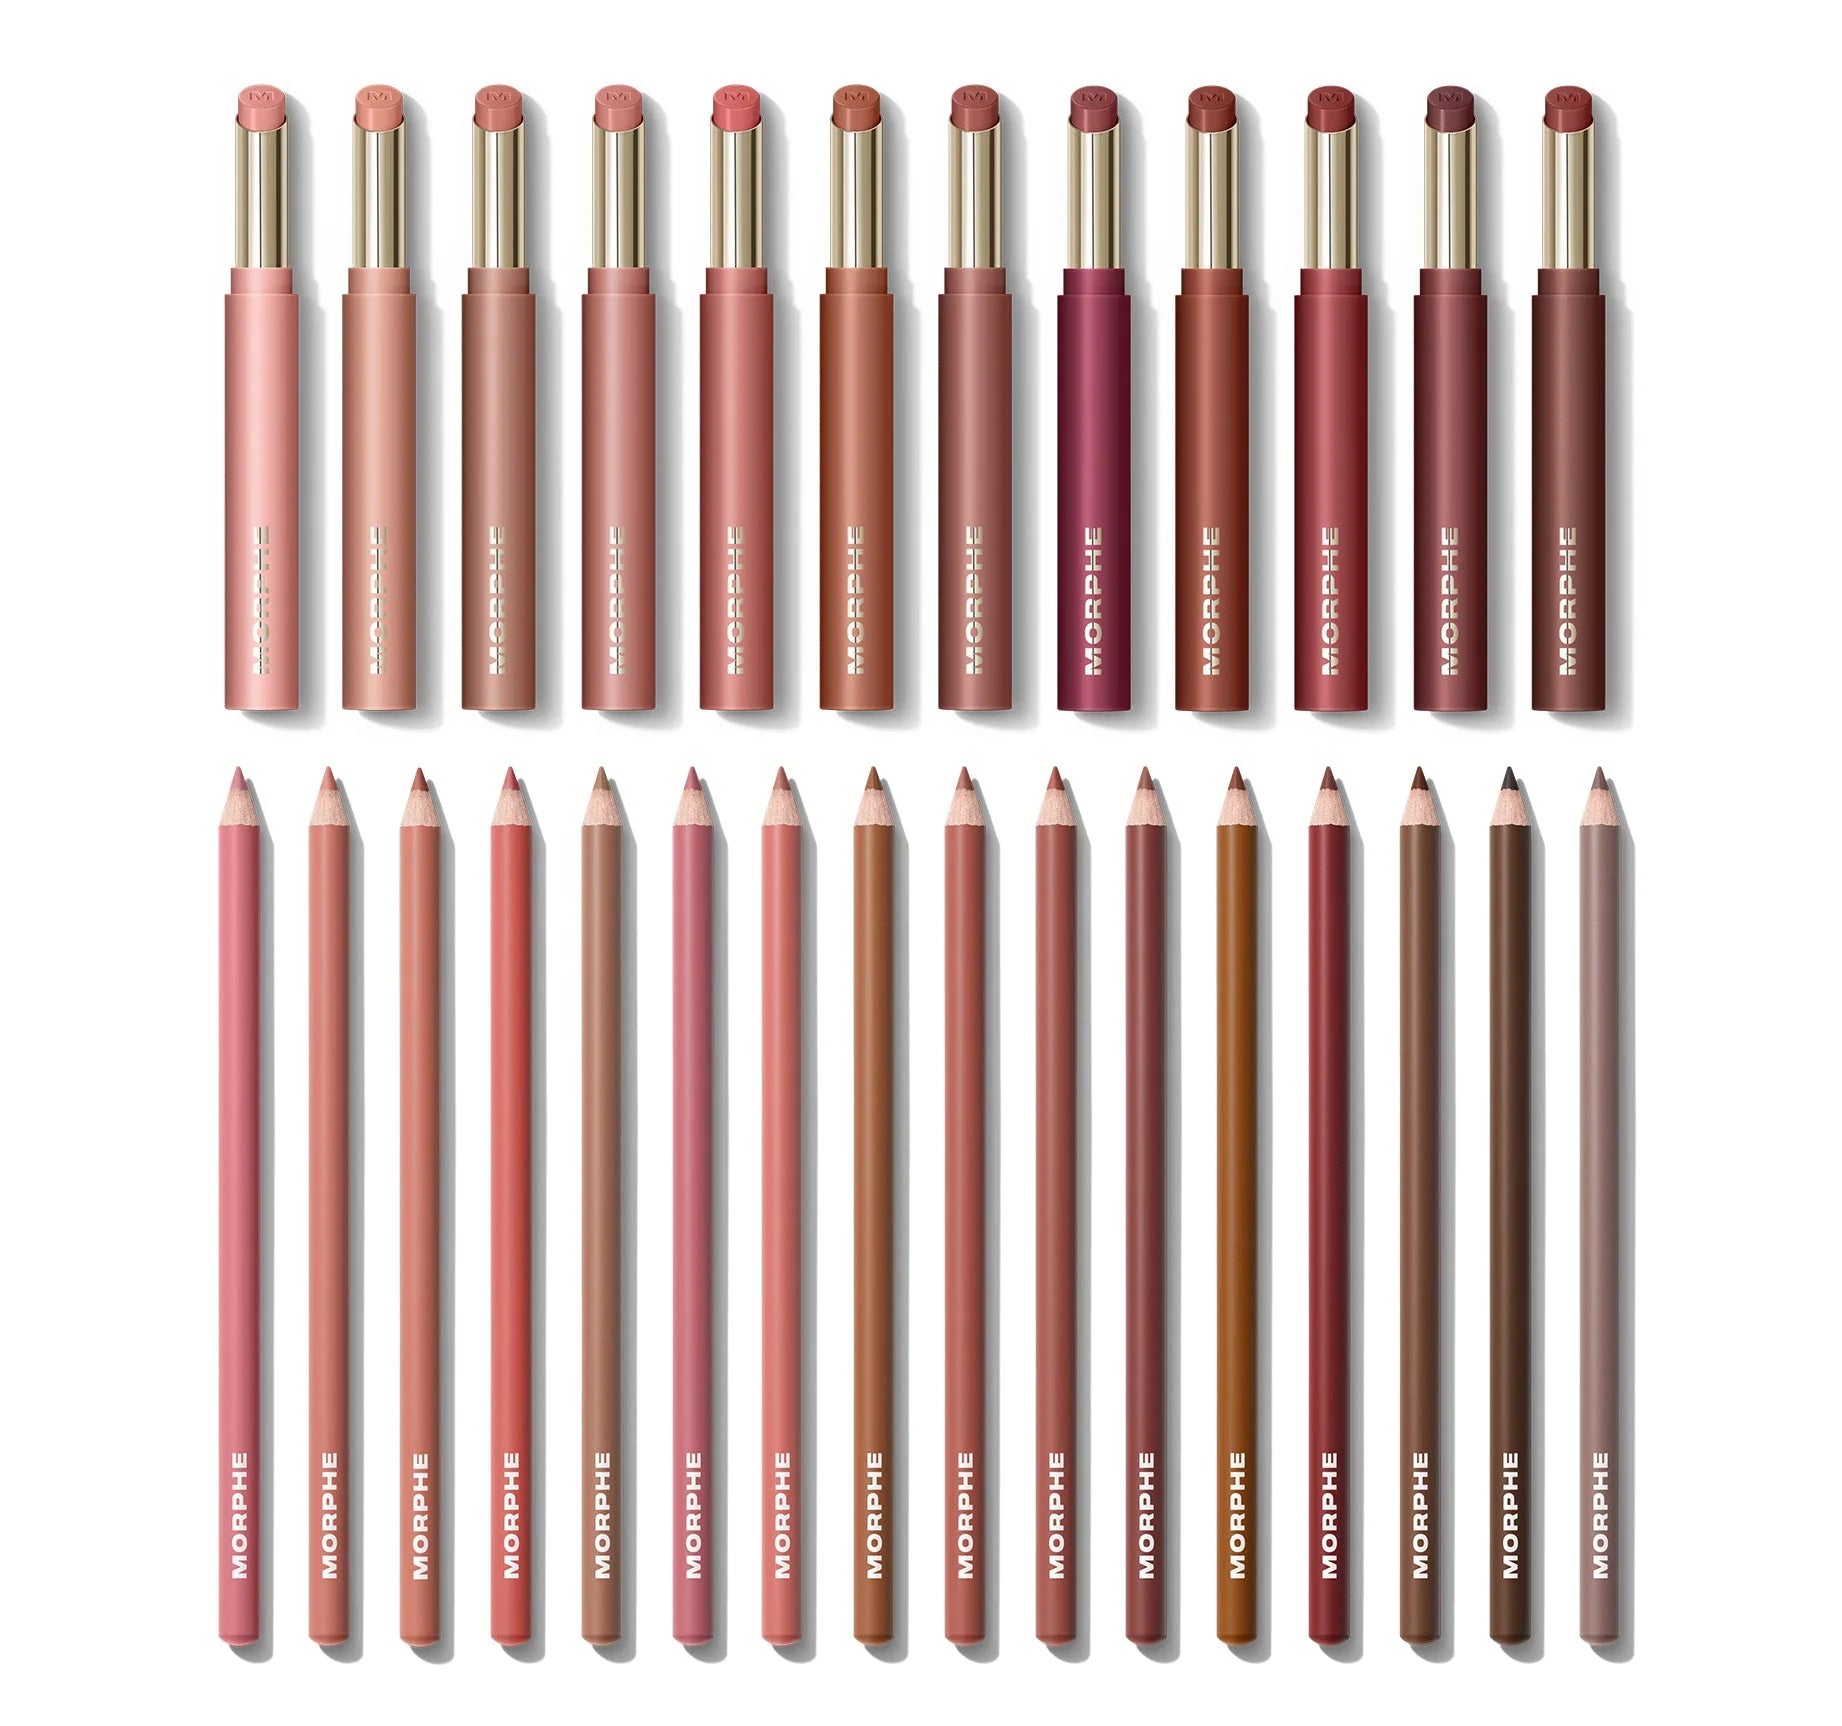
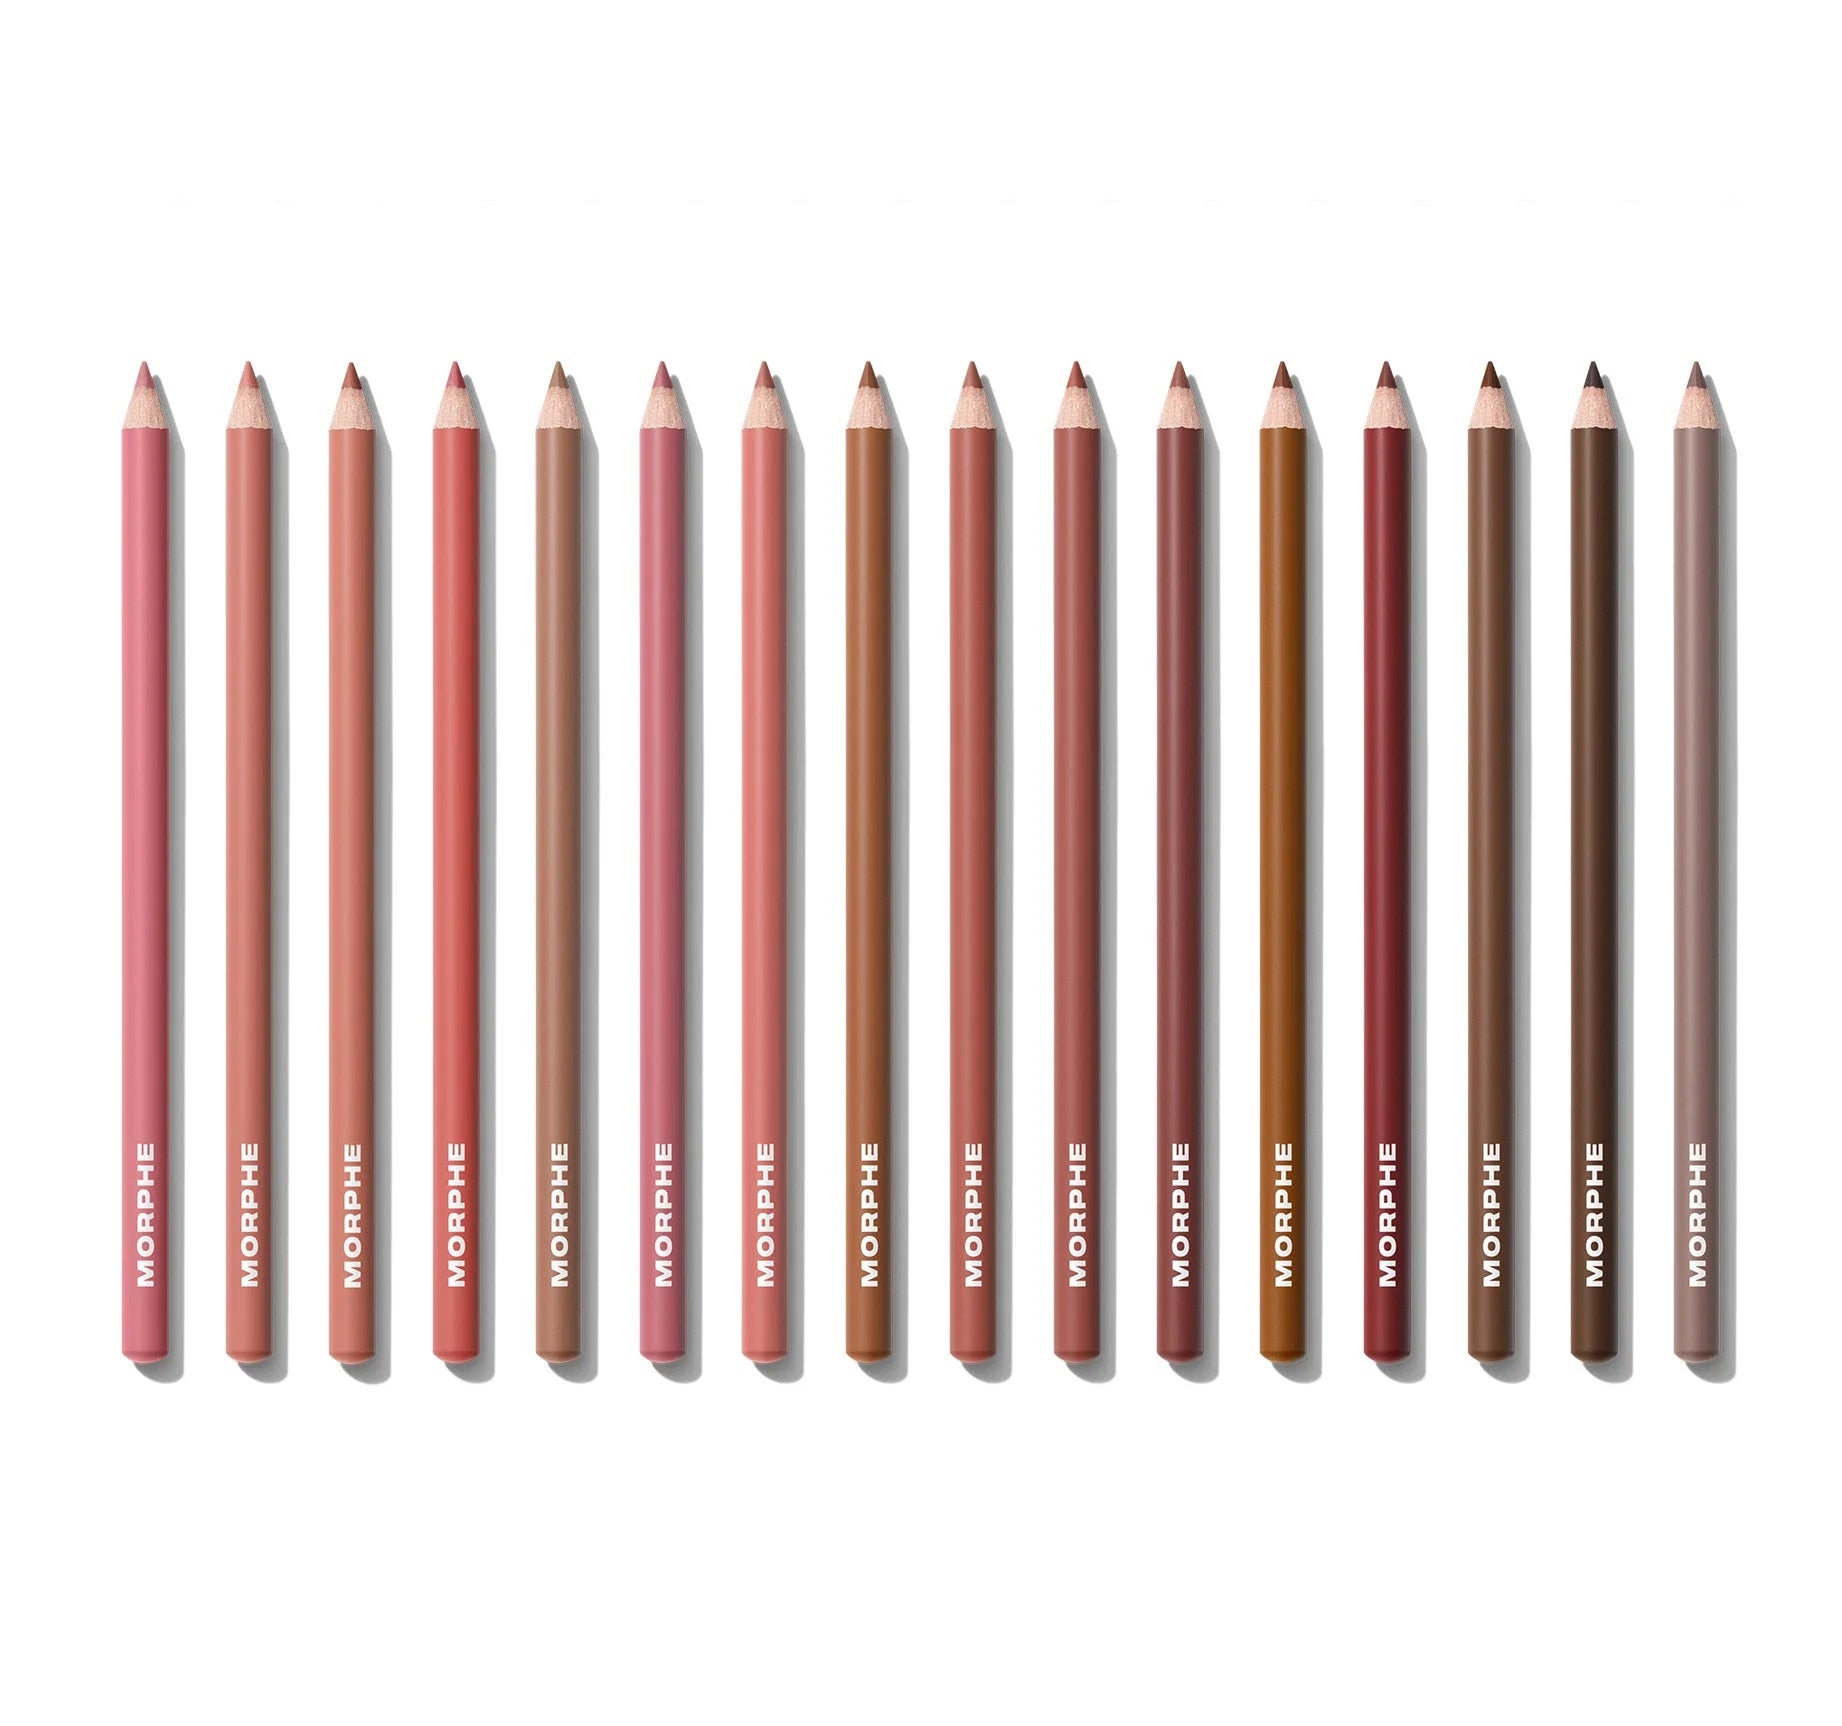
Choosing the Right Lip Liner Shade and Formula
Before you begin your lip liner application, you need the right product. Consider these factors:
Shade Selection
- Match your lipstick – For a seamless look, choose a liner that's the same shade as your lipstick.
- Go one shade darker – For extra definition, use a liner that's just slightly darker than your lipstick.
- Nude liners – A nude or clear liner works with any lip color and is ideal for beginners.
Formula and Texture
- Creamy liners – Glide on easily and are comfortable to wear; best for dry lips.
- Gel liners – Offer long wear and are smudge-proof; great for all-day looks.
- Retractable vs. sharpenable – Retractable liners are convenient, while sharpenable ones often have a finer tip for precision.
Once you've selected your liner, it's time to prep your lips. Exfoliate gently and apply a light balm to ensure a smooth canvas. For an extra boost of hydration and grip, try using the Continuous Prep & Set Mist+ before your lip routine—it helps set the stage for flawless color.
Step-by-Step Lip Liner Application: The Basic Technique
Follow these steps for a classic, natural-looking lip:
- Start at the Cupid's bow – Make an 'X' at the center of your upper lip to define the peak. This creates a symmetrical starting point.
- Outline the upper lip – Draw from the 'X' outward toward the corners, following your natural lip line. Use short, feathery strokes for a softer look.
- Outline the lower lip – Start at one corner and draw along the bottom lip to the other corner. Keep the line even and steady.
- Fill in the entire lip – Lightly shade the inner part of your lips with the liner. This acts as a base for your lipstick and helps it last longer.
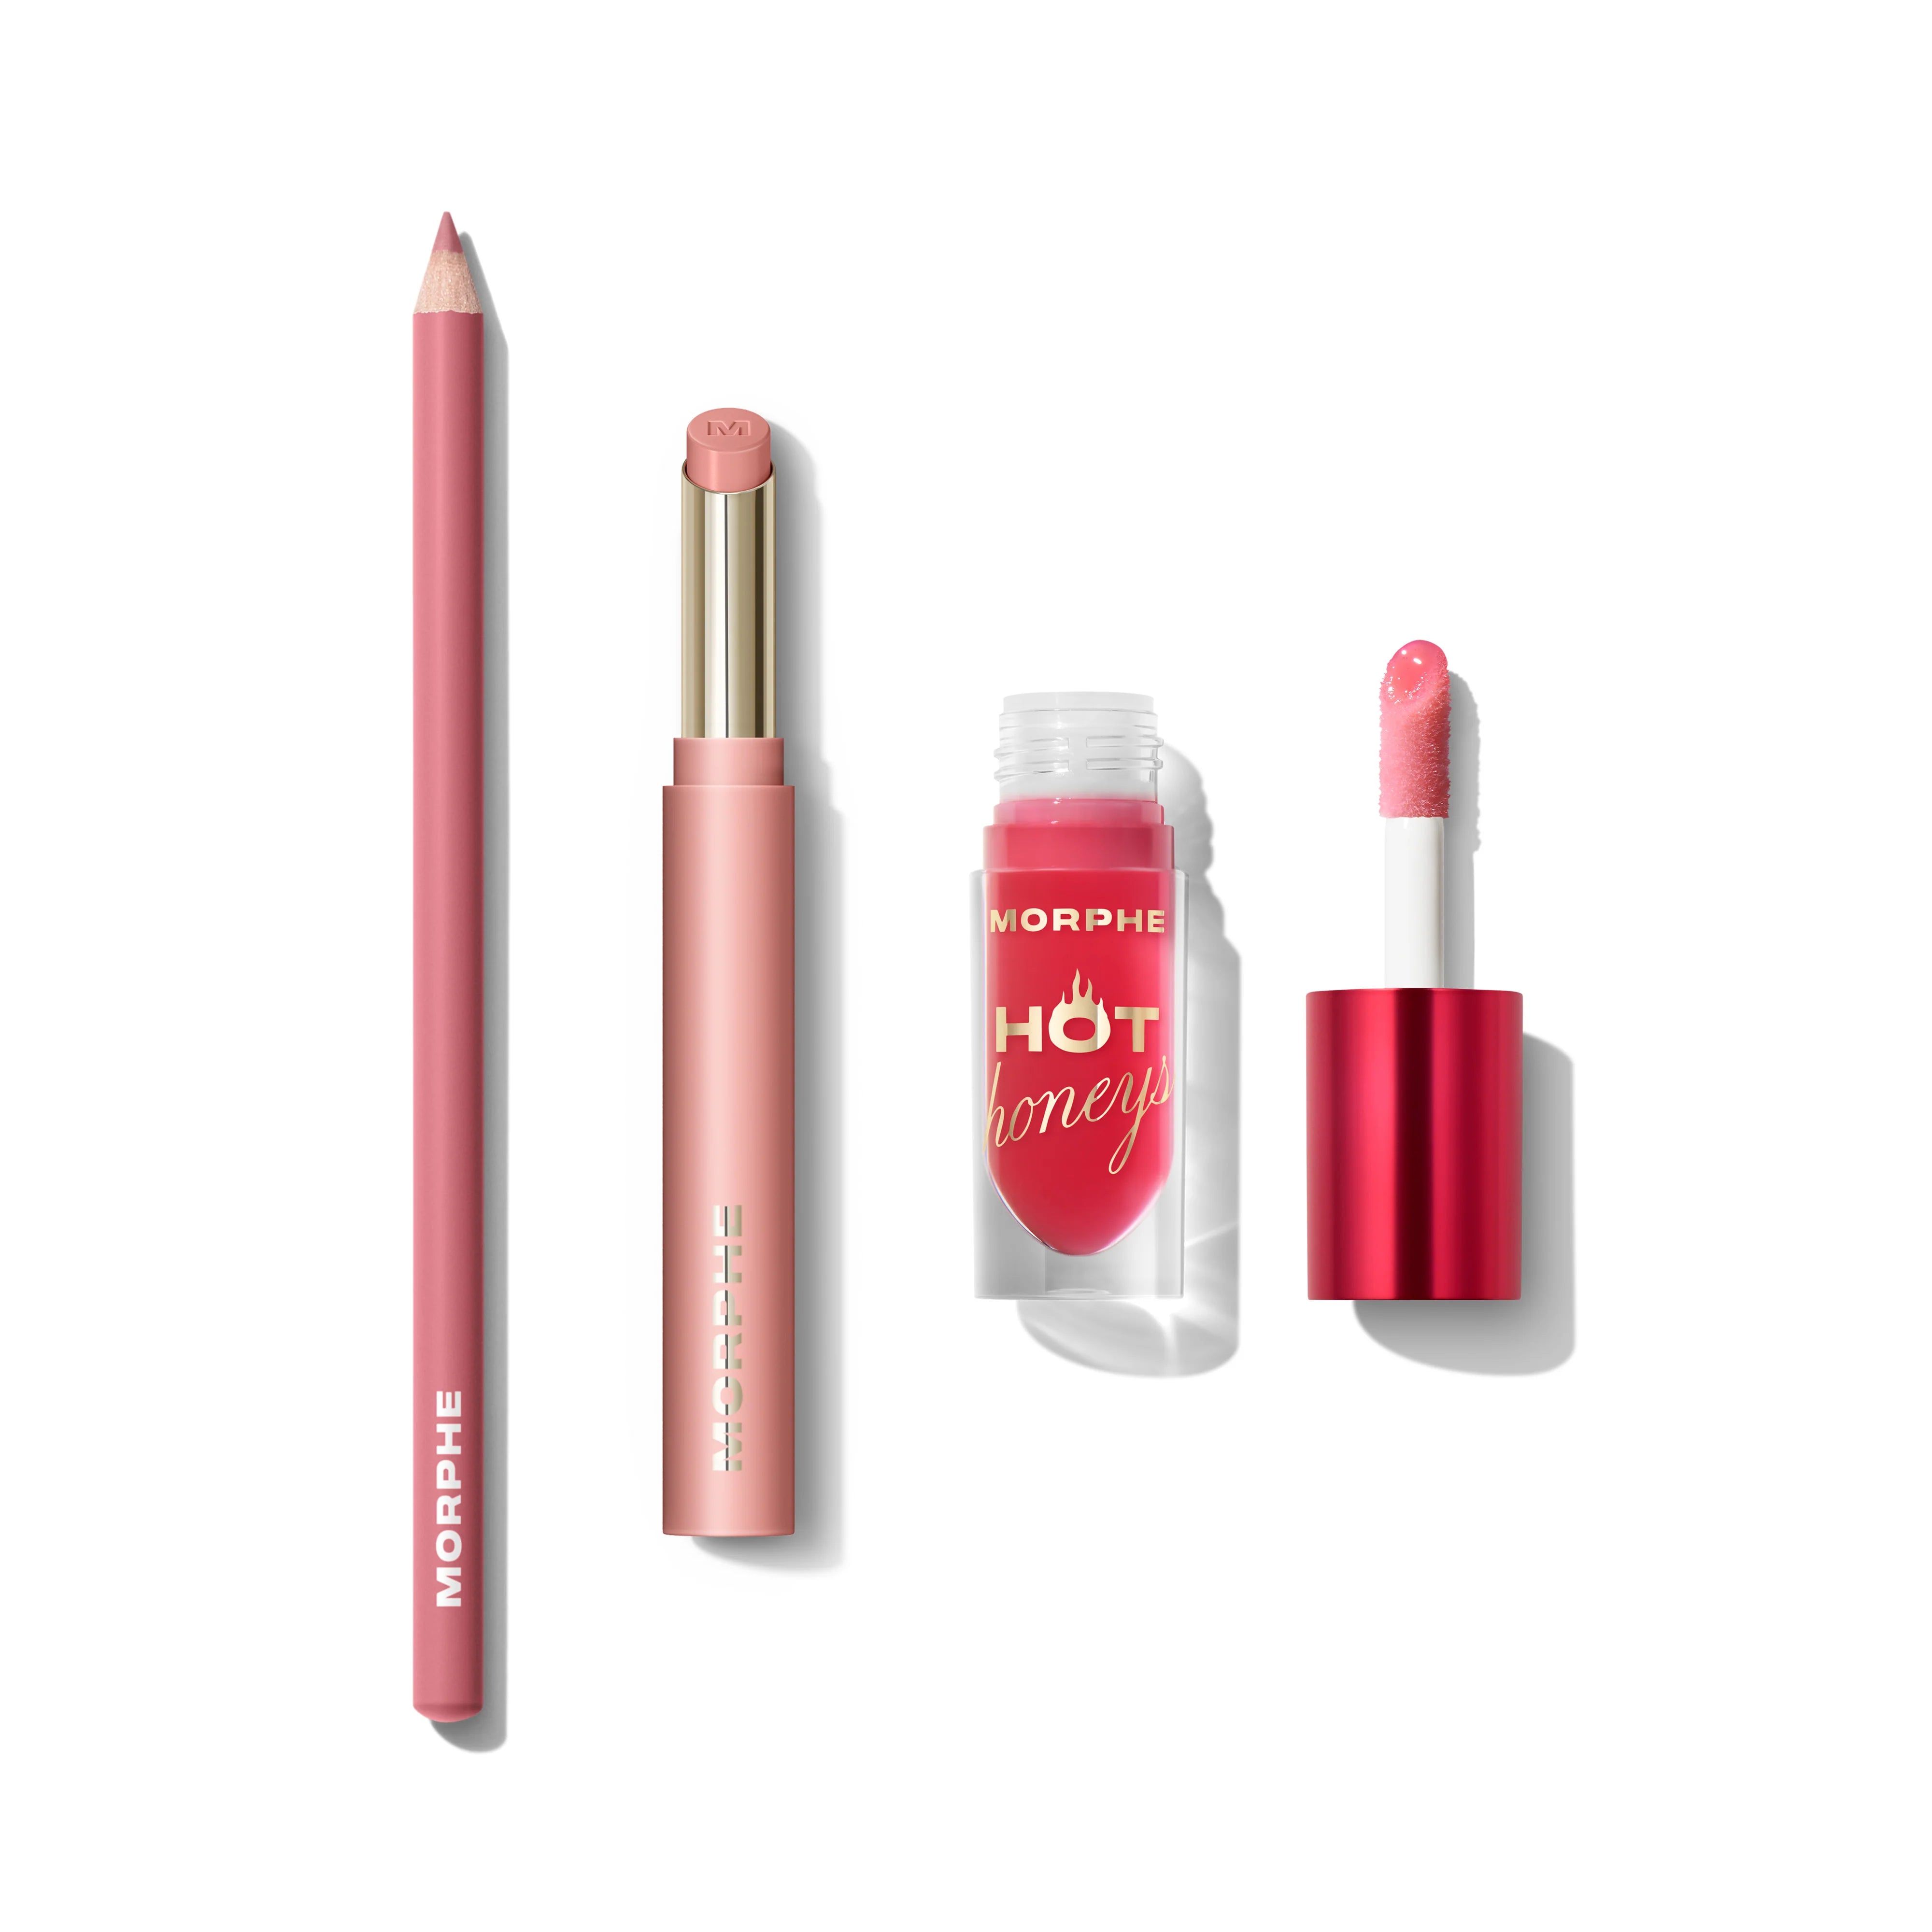
- Apply lipstick or gloss – Layer your favorite color over the liner. For a modern finish, you can top it with a gloss.
This technique works for any lip shape. If you have thinner lips, you might want to try the overlining method below to create a fuller appearance.
How to Overline Lips: The Fuller Lip Illusion
Overlining is a popular technique for making lips look plumper without injectables. The key is subtlety—overlining too far outside your natural line can look obvious. Here's how to do it right:
- Use a liner that matches your natural lip color – This creates the most believable illusion. A shade that's too dark will draw attention to the overline.
- Focus on the center – Overline the Cupid's bow and the center of the lower lip slightly. Avoid overlining the corners, as that can make lips look distorted.
- Blend inward – After outlining, use a lip brush or your finger to blend the liner inward so there's no harsh line.
- Highlight the center – Dab a touch of gloss or lighter lipstick in the middle of your lips to enhance the plump effect.
For a precise overlining look, consider using a fine-tipped liner. The Micro Manager Gripping Brow Gel is designed for brows, but its fine applicator can help you achieve the same level of control around your lips if you're careful—use it to set the shape before lining.
Correcting Asymmetry with Lip Liner
Many people have naturally asymmetrical lips—one side may be fuller or higher than the other. Lip liner can help balance things out. Here are some lip shape tips for common concerns:
| Lip Concern | Correction Technique |
|---|---|
| Uneven Cupid's bow | Draw a symmetrical 'X' at the center, adjusting the higher side slightly lower and the lower side slightly higher to match. |
| Thinner upper lip | Overline the upper lip slightly while keeping the lower lip natural. Fill both lips with the same liner. |
| Drooping corners | Use a concealer to lift the corners slightly, then draw the liner upward at the edges. |
| Fuller lower lip | Keep the lower lip line natural, and overline the upper lip sparingly to create balance. |
Remember, practice makes perfect. Use a mirror and good lighting to check your progress as you go.
Common Lip Liner Mistakes and How to Fix Them
Even experienced makeup lovers can slip up. Here are the most common mistakes and quick fixes:
- Harsh, obvious lines – Solution: Use a matching lipstick or a lip brush to soften the line. You can also apply a thin layer of lip balm over the liner to blur it.
- Feathering or bleeding – Solution: First, ensure your lip liner is creamy but not too waxy. Then, fill in your entire lip with liner to create a barrier. Setting with a translucent powder can also help.
- Overlining too far – Solution: Wipe off the excess with a cotton swab and reapply closer to your natural line. Less is more.
- Liner that doesn't match lipstick – Solution: If you don't have an exact match, use a clear or nude liner. Alternatively, apply the liner and then blend it with the lipstick using a brush.
If you're building a complete makeup kit, don't forget to pair your lip liners with proper tools. The All Bases Covered 3-Piece Tool Set includes essential brushes that can help you perfect your lip and face application.
Lip Liner for Different Lip Shapes and Occasions
Your lip liner application can be tailored to your unique lip shape and the look you want to achieve:
For Thin Lips
Stick to overlining just outside your natural line, focusing on the center. Avoid dark, matte liners—opt for nude or glossy finishes to maximize fullness.
For Full Lips
Your natural shape is beautiful! Use a liner that matches your lipstick exactly to define the edges without overdrawing. A matte finish can look chic and modern.
For Asymmetrical Lips
Use the correction techniques above. A creamy liner can be adjusted easily if you make a mistake.
For Everyday vs. Evening Looks
Daytime: Choose a liner that's close to your natural lip color and apply lightly. Nighttime: Go bold with a darker liner and a vibrant lipstick, or try a glossy overlay for a plump effect.
FAQs About Lip Liner
Can I wear lip liner alone?
Absolutely! Filling in your entire lip with liner and topping with a clear gloss or balm creates a long-lasting, natural look.
How do I keep lip liner from drying out my lips?
Exfoliate regularly and apply a hydrating balm before lining. Look for formulas with moisturizing ingredients like shea butter or vitamin E.
What if my lip liner is too dark?
Use a lip brush to blend it with a lighter lipstick or gloss. You can also apply a concealer around the edges to soften the contrast.
Should I sharpen my liner before each use?
Yes, for hygiene and precision. A sharp tip gives you more control, especially for fine details like the Cupid's bow.
Final Thoughts: Practice, Experiment, and Have Fun
Lip liner is a versatile tool that can transform your entire makeup look. Whether you're aiming for a subtle everyday pout or a dramatic evening lip, the techniques in this lip liner tutorial will help you achieve professional results at home. Remember to choose shades that flatter your skin tone and lipstick, and don't be afraid to experiment with different shapes and overlining tricks.
For those just starting out, we recommend building a collection of neutral and soft pink liners to match your most-worn lip colors. As you gain confidence, you can explore bolder shades like berry, plum, or red. And always keep a good setting spray on hand to lock in your look.
Ready to perfect your pout? Explore the Make It Big Volumizing Mascara for a complementary eye look that balances your defined lips. Pair it with the right lip liner from our collection, and you'll be ready to shine.